Easy Crochet Drawstring Bag Pattern for Beginners
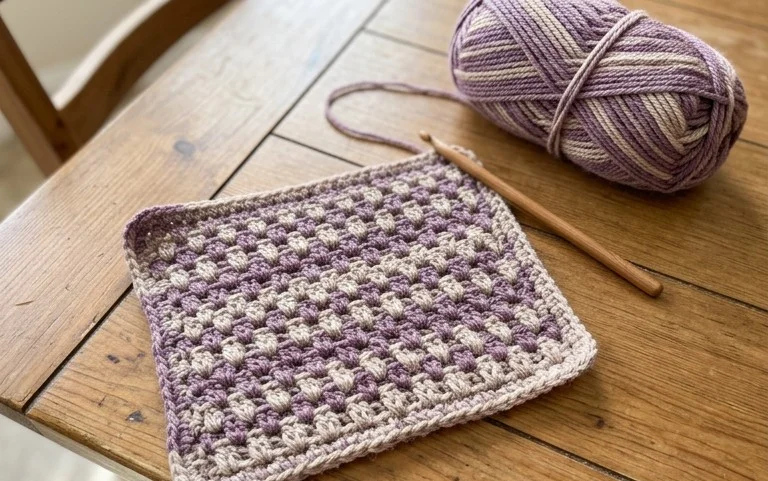
This sturdy cotton pouch sits upright on your craft desk and holds its shape well even when empty. It features a firm, circular base that transitions into a clean, smooth body of single crochet stitches, providing a grounded feel that beginners often find reassuring. Whether you are building your yarn stash, gifting a handmade token, or organizing loose notions, this project offers a meditative rhythm for your needles. We will cover the specific increase method for a flat bottom and the technique for creating evenly spaced eyelets for your cord, ensuring a polished outcome every single time.
Why This Project Is Worth Making
This simple crochet drawstring bag is a functional staple that works up quickly using basic stitches. The construction uses a sturdy base followed by a tubular body, making it an excellent project for practicing consistent tension in the round. Because it uses a small amount of yarn, it is a great way to use up leftover skeins from larger projects. The drawstring closure is reliable and keeps your items secure, making it useful for holding stitch markers, notions, or small toys.
I finished this bag in a single afternoon and it has already become my go-to pouch for keeping my loose crochet hooks organized in my project bag.
— Sarah, intermediate maker
Pattern Overview & Skill Level
- Skill Level: Beginner
- Approximate Time: 2 to 3 hours
- Construction: Worked in continuous rounds from the bottom up, with a final row created for the drawstring holes.
- Finished Dimensions: Approximately 6 inches wide and 7 inches tall.
Materials & Supplies Needed
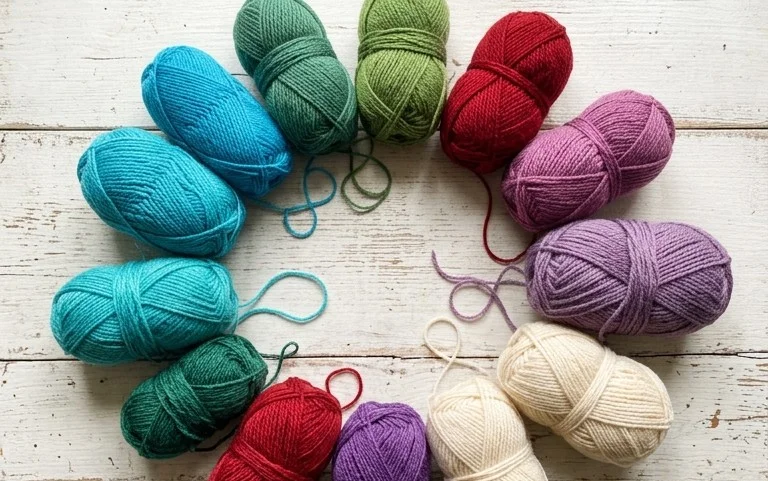
- Yarn: Worsted weight (#4) cotton yarn, approximately 100 yards. Cotton is recommended for its durability and lack of stretch.
- Hook Size: 4.5 mm (US size 7) or 5.0 mm (US size H-8) depending on your tension.
- Notions: Tapestry needle, stitch marker, and 24 inches of cord or ribbon for the drawstring.
- Safe yarn substitutions: Acrylic yarn is a soft alternative, though the bag will be slightly more prone to stretching than one made with cotton. Avoid roving-style wools as they lack the structure required for a utility bag.
Stitch Guide & Abbreviations (US Terms)
- ch = chain
- st = stitch
- sc = single crochet
- inc = increase (2 sc in the same stitch)
- sl st = slip stitch
- dc = double crochet
- yo = yarn over
- MR = magic ring
- st(s) = stitch(es)
Step-by-Step Pattern Instructions
Bag Body
- Rnd 1: Start with a MR and work 6 sc into the ring. Place a stitch marker in the last sc to keep track of the rounds. (6 sts)
- Rnd 2: Work 2 sc in each st around. (12 sts)
- Rnd 3: 1 sc, inc repeat from * to * 6 times. (18 sts)
- Rnd 4: 1 sc in next 2 sts, inc repeat from * to * 6 times. (24 sts)
- Rnd 5: 1 sc in next 3 sts, inc repeat from * to * 6 times. (30 sts)
- Rnd 6: 1 sc in next 4 sts, inc repeat from * to * 6 times. (36 sts)
- Rnd 7: 1 sc in next 5 sts, inc repeat from * to * 6 times. (42 sts)
- Rnd 8: Working in the back loops only (BLO), sc in each st around. (42 sts)
- Rnds 9–25: Sc in each st around. Continue until the bag reaches your desired height. (42 sts)
Drawstring Row & Finishing
- Rnd 26: ch 2, skip 2 sts, sc in next 2 sts repeat around. This creates the holes for your cord.
- Rnd 27: Sc in each st and ch space around. Join with a sl st to the first st. Fasten off and weave in your ends.
- Assembly: Weave your cord or ribbon through the spaces created in Rnd 26. Knot the ends of the cord together to prevent it from pulling through.
Care & Washing Instructions
- Machine wash on a gentle cycle in cold water using a mild detergent.
- Reshape the bag while damp and lay it flat on a clean towel to dry.
- Avoid using a tumble dryer, as heat can shrink cotton fibers and distort the bag shape.
Pro Tips & Common Mistakes to Avoid
- Use a stitch marker at the start of every round to ensure your count remains accurate, as continuous rounds can make it difficult to track where a row begins.
- If your bag feels too loose, drop down one hook size to create a denser fabric that will hold smaller items better.
- Weave your ends in by threading them through the stitches on the inside of the bag in at least three different directions to secure them against heavy use.
- To adjust the size, simply add or subtract rounds before the drawstring row; keep in mind that a significantly larger bag may require a thicker cord for the drawstring.
Frequently Asked Questions
Can I use a larger hook for this pattern?
Yes, using a larger hook will make the bag larger but also create a looser weave. This is fine for storing bulky items but might lead to small items falling through the gaps.
Is this project suitable for a complete beginner?
This project is ideal for beginners because it uses only basic stitches and focuses on simple increases and circular construction.
How do I adjust the drawstring opening?
To make the holes larger, increase the number of chains in the drawstring row and skip an equal number of stitches below.
Am I allowed to sell bags made from this pattern?
You are welcome to sell items made from this pattern at small-scale craft fairs, provided you credit the designer and use your own photographs.
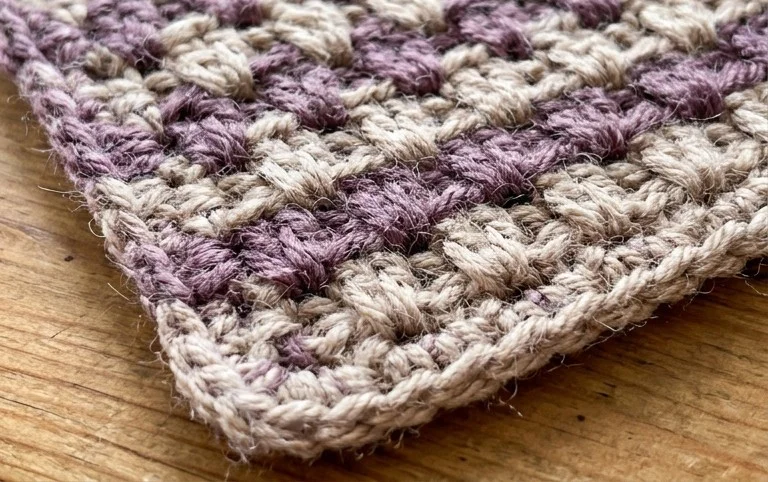
Your finished drawstring bag is a tidy solution for keeping small tools off your floor and within reach. You can swap the cotton yarn for a variegated wool blend if you prefer a softer, fuzzier look, or try working two strands held together to create a larger, thicker storage bin for yarn scraps. Please post a photo of your work on Instagram or Pinterest to show off your color choices. Browse the rest of our blog archives to find more free projects for your afternoon hobby.