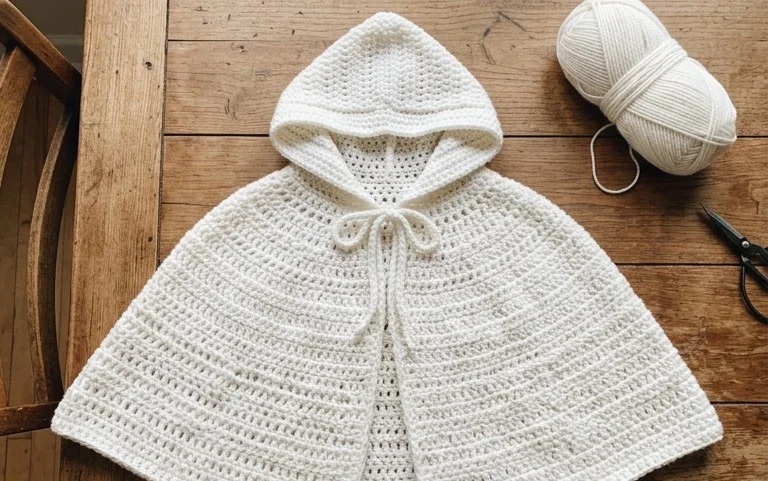
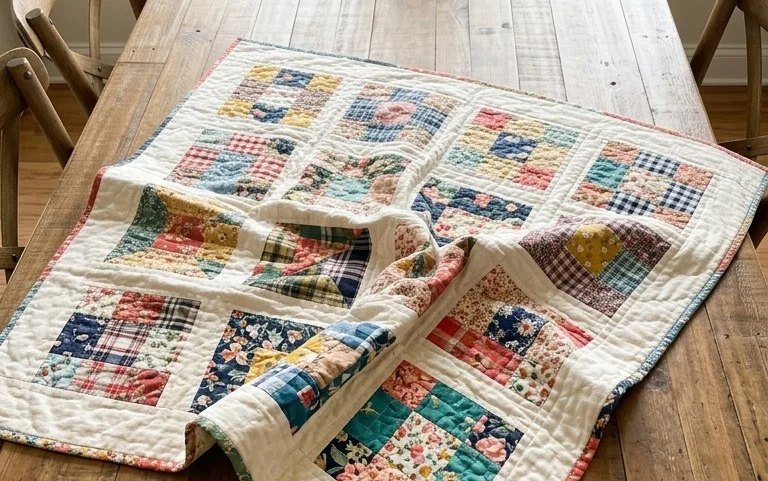
107+ Free Easy Crochet Patterns to Use Up Your Yarn Stash
That overflowing basket of colorful yarn scraps finally has a purpose beyond gathering dust in your craft room. Transforming those lonely, disparate lengths into vibrant, tactile treasures feels incredibly rewarding, resulting in whimsical textures and eclectic patterns that bring cozy charm to any home. Whether you are a brand-new beginner or a dedicated crafter seeking thoughtful gifts, these versatile designs offer the perfect creative outlet. You will master the art of seamless color transitions and creative joining techniques to unite your favorite remnants, turning tangled clutter into beautiful, one-of-a-kind masterpieces that celebrate the joy of mindful, sustainable crochet every stitch.
Why You’ll Love This Pattern
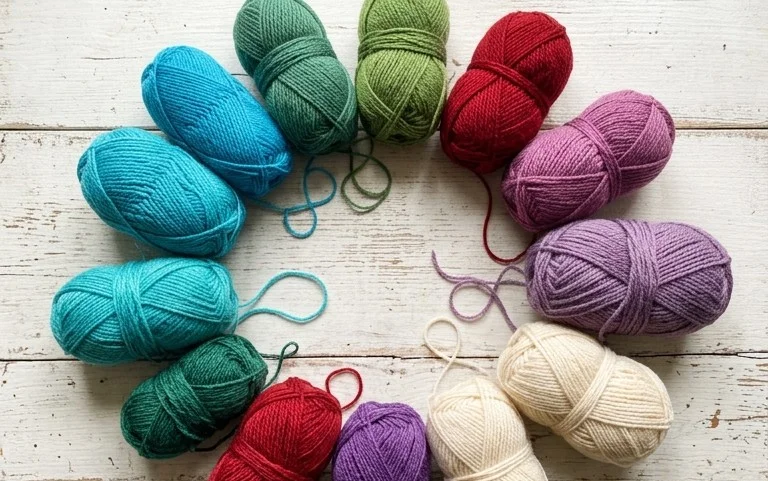
This Amigurumi Crochet Bee is the ultimate stash-busting project. Because it requires only small amounts of yellow, black, and white yarn, it is a fantastic way to utilize leftover bits from larger blankets or garments. Beyond its scrap-friendly nature, it is a quick-to-assemble pattern that works up in a single sitting, making it the perfect choice for last-minute gifts or craft fair inventory. The construction utilizes basic increases and decreases, offering a relaxing, meditative rhythm that is ideal for crocheters looking to practice their 3D shaping without complex color changes or intricate stitch work.
I managed to whip up three of these little bees in a single afternoon. The pattern is incredibly straightforward, and the shaping is so intuitive that I didn’t even need to look at the instructions after the first one. They are absolutely adorable!
— Sarah, amigurumi enthusiast
Pattern Overview & Skill Level
- Skill Level: Beginner
- Approximate Time: 1.5 – 2 hours
- Construction: Worked in continuous spiral rounds, starting from the head and ending at the tail, with separate pieces for wings and antennae.
- Finished Dimensions: Approximately 3 inches long by 2.5 inches wide.
Materials & Supplies Needed
- Yarn: Worsted weight (#4), 100% Cotton (e.g., Lily Sugar’n Cream) in Yellow, Black, and White. Approximately 20 yards of yellow, 15 yards of black, and 10 yards of white.
- Hook Size: 3.5 mm (E-4) for a tight, non-gaping stitch to prevent stuffing from showing.
- Notions: Tapestry needle, stitch markers, fiberfill stuffing, two 8mm safety eyes.
- Yarn Substitutions: Acrylic worsted weight yarn can be substituted for a softer feel, though it may result in a slightly larger, squishier bee. Cotton is recommended for a crisp, defined structure.
Stitch Guide & Abbreviations (US Terms)
- MR: Magic Ring
- ch: Chain
- sc: Single crochet
- inc: 2 sc in same st (increase)
- dec: sc2tog (decrease using invisible method: pick up front loops of next two stitches, yarn over, pull through, yarn over, pull through both loops)
- sl st: Slip stitch
- st(s): Stitch(es)
Step-by-Step Pattern Instructions
Bee Body
- Rnd 1: With Yellow, MR, 6 sc in ring (6 sts)
- Rnd 2: inc in each st around (12 sts)
- Rnd 3: [sc, inc] 6 times (18 sts)
- Rnd 4: [2 sc, inc] 6 times (24 sts)
- Rnd 5: sc in each st around (24 sts)
- Rnd 6: Switch to Black, sc in each st around (24 sts)
- Rnd 7: Switch to Yellow, sc in each st around (24 sts)
- Rnd 8: Switch to Black, sc in each st around (24 sts)
- Rnd 9: Switch to Yellow, sc in each st around (24 sts)
- Rnd 10: [2 sc, dec] 6 times (18 sts). Insert safety eyes between Rnd 3 and 4. Start stuffing.
- Rnd 11: [sc, dec] 6 times (12 sts)
- Rnd 12: [dec] 6 times (6 sts). Fasten off, weave through remaining sts, and pull tight to close.
Wings (Make 2)
- Rnd 1: With White, MR, 6 sc (6 sts)
- Rnd 2: inc in each st around (12 sts)
- Rnd 3-4: sc in each st around (12 sts)
- Rnd 5: [dec] 6 times (6 sts). Fasten off, leaving a tail for sewing. Do not stuff.
Assembly
Sew wings to the back of the bee over the third black stripe. Use a scrap piece of black yarn to embroider a small “V” shape for the mouth. Using the tapestry needle, weave in all ends securely inside the body.
Care & Washing Instructions
- Hand wash in cool water using a mild wool wash or gentle detergent.
- Gently squeeze out excess water with a towel; do not wring or twist.
- Reshape while damp and lay flat on a clean surface to air dry away from direct heat.
Pro Tips & Common Mistakes to Avoid
- Maintain Tension: Use a hook size slightly smaller than recommended on the yarn label. This ensures your stitches are tight enough that the fiberfill won’t poke through.
- Use Stitch Markers: Since this is worked in continuous rounds, always place a stitch marker in the first stitch of every round to keep your place.
- Invisible Ends: When fastening off, pull your yarn through and use a tapestry needle to stitch under both loops of the next stitch to create a seamless finish.
- Sizing Adjustments: To make a larger bee, use a bulkier weight yarn and a corresponding larger hook. Note that this will significantly increase the amount of yarn required.
Frequently Asked Questions
Can I use a different yarn weight for this pattern?
Yes, you can use any yarn weight, provided you adjust your hook size to create a tight fabric so the stuffing remains hidden. Using a thicker yarn will result in a larger bee, while thinner yarn will make a smaller one.
Is this project suitable for absolute beginners?
Absolutely! This pattern uses only single crochet, increases, and decreases. It is a perfect way to practice basic 3D shaping and working in the round.
How do I keep my color changes neat?
To make the stripes look professional, switch your yarn color on the very last pull-through of the final stitch of the previous round. This ensures the first stitch of the new color is crisp.
Can I sell the bees I make from this pattern?
You are welcome to sell finished items made from this pattern, provided you credit the designer. Please do not sell, distribute, or copy the pattern instructions themselves.
There is such a unique joy in seeing those tangled yarn remnants transform into a beautiful, finished treasure you can finally call your own. Try mixing up your color palette with a bold variegated strand to give your next piece a completely fresh look. Once your project is complete, I would love for you to share a photo on Pinterest or social media so we can celebrate your work, and please keep exploring the rest of our free pattern library for more inspiration!