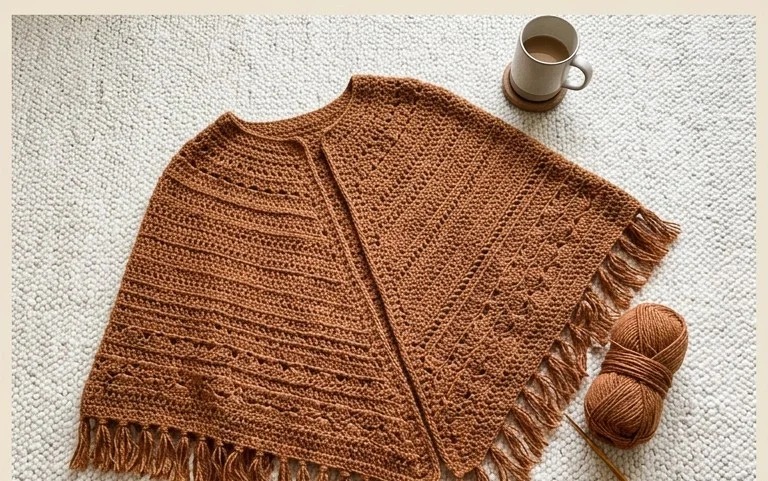
Golden Hour Cape: Free Easy Crochet Pattern for Beginners
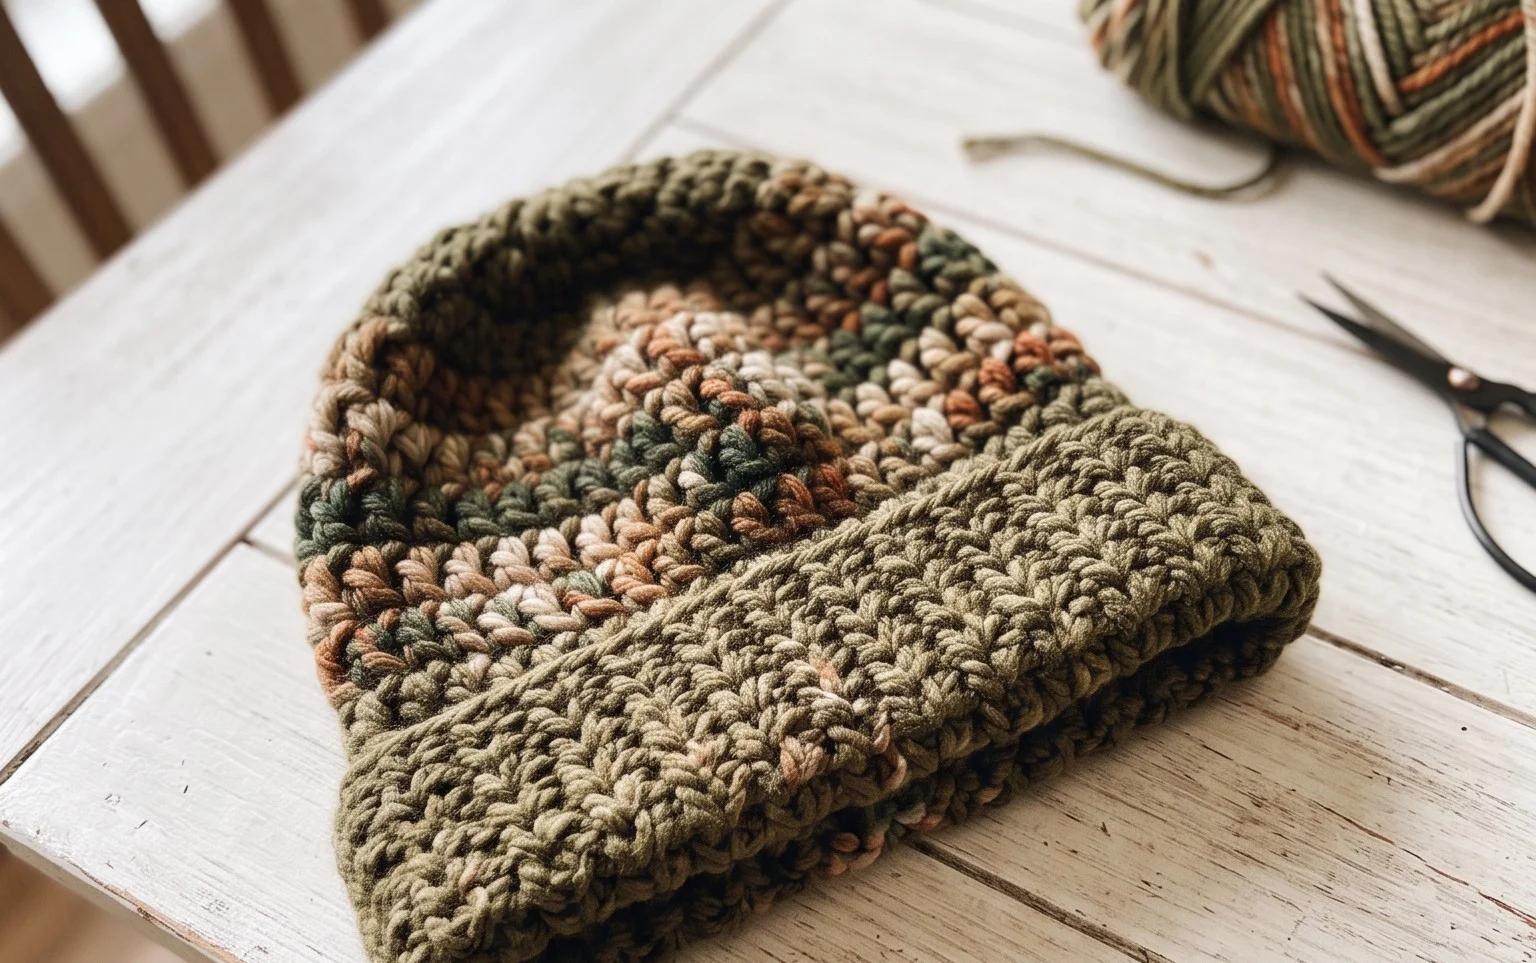
This cape features a warm, honey-hued yarn that drapes softly over the shoulders, making it a reliable layer for cool evenings spent on the porch. The piece relies on basic stitches that grow quickly, providing a rhythmic workflow for those who prefer calm, repetitive movements over complex counts. You will find that the fabric develops a structured yet pliable texture, which remains comfortable whether worn over a thin summer dress or a chunky winter sweater. By focusing on simple double crochet clusters, this project builds confidence for beginners while offering experienced makers a relaxing way to practice consistent tension. We will work through the layout of the squares and the method for joining them, ensuring your seams remain clean and nearly invisible as you assemble your final piece.
Why You’ll Love This Pattern
The Classic Crochet Granny Square is the foundation of countless heritage projects, offering a repetitive rhythm that makes it ideal for mindful crafting. Because it relies on basic double crochet stitches grouped into clusters, it is a low-stress project that allows you to master tension while creating something functional. You can easily complete a single square in under twenty minutes, making this an excellent choice for using up small amounts of leftover yarn. The modular nature of these squares means you can stop whenever you reach your desired project size, whether you are making a simple coaster or a full-sized heirloom blanket.
I finally learned how to keep my corners square using this tutorial and my tension has never looked better on a joining project.
— Sarah, hobbyist maker
Pattern Overview & Skill Level
- Skill Level: Beginner
- Approximate Time: 15–20 minutes per square
- Construction: Worked in joined rounds, starting from the center and expanding outward
- Finished Dimensions & Sizing: Approximately 5 inches by 5 inches using worsted weight yarn
Materials & Supplies Needed
- Yarn: Worsted weight (#4) acrylic or cotton yarn, approximately 15 yards per square.
- Hook Size: 5.0 mm (H-8).
- Notions: Yarn needle for weaving in ends and sharp scissors.
- Safe yarn substitutions: You may use DK weight (#3) yarn with a 4.0 mm hook for a smaller, tighter square, or bulky weight (#5) yarn with a 6.0 mm hook for a larger, faster-working square.
Stitch Guide & Abbreviations (US Terms)
- ch = chain
- sl st = slip stitch
- dc = double crochet
- dc cluster = 3 double crochet stitches worked into the same space
- sp = space
- rnd = round
- st/sts = stitch/stitches
Step-by-Step Pattern Instructions
Center and First Rounds
The square begins with a center circle created by chains, which serves as the foundation for your first round of clusters.
- Rnd 1: Ch 4, sl st to the first chain to form a ring. Ch 3 (counts as first dc), work 2 dc into the ring, ch 2, *3 dc into ring, ch 2; repeat from * twice more. Join with a sl st to the top of the beginning ch 3. (12 dc, 4 ch-2 sps)
- Rnd 2: Sl st into the next ch-2 sp. Ch 3, 2 dc, ch 2, 3 dc all in same corner sp. *Ch 1, (3 dc, ch 2, 3 dc) in next corner sp; repeat from * twice more. Ch 1, join with sl st to top of beginning ch 3. (24 dc, 4 ch-1 sps, 4 ch-2 sps)
Expanding the Square
Each subsequent round increases the size of the square by adding clusters into the side chain spaces and more clusters into the corners.
- Rnd 3: Sl st into the next corner sp. Ch 3, 2 dc, ch 2, 3 dc in corner. *Ch 1, 3 dc in next ch-1 sp, ch 1, (3 dc, ch 2, 3 dc) in next corner; repeat from * twice more. Ch 1, 3 dc in last ch-1 sp, ch 1, join with sl st to top of beginning ch 3. (36 dc)
- Rnd 4: Continue in the same manner, working (3 dc, ch 2, 3 dc) in every corner and 3 dc in every side chain space, with a ch 1 between every cluster. (48 dc)
Finishing
After reaching your desired size, fasten off your yarn, leaving a six-inch tail. Use your yarn needle to weave the tail through the back loops of the finished stitches to secure the edge. Trim any excess yarn flush with the fabric.
Care & Washing Instructions
- Hand wash your finished project in cool water using a mild wool wash or gentle soap.
- Lay the piece flat on a clean towel and reshape it to its original square dimensions while damp.
- Allow the square to air dry completely away from direct heat sources to prevent fiber damage.
Pro Tips & Common Mistakes to Avoid
- Maintain consistent tension by ensuring your yarn flow is smooth; if your stitches look tight, try going up a half-size in hook diameter.
- Place a stitch marker in the first chain of your starting round to easily identify where to join your slip stitch at the end of each round.
- Weave your ends in by threading them through the base of the stitches on the wrong side for at least one inch to ensure they do not pull out during washing.
- If you choose to adjust the size, remember that each additional round adds twelve double crochet stitches to the total count, which will increase your yarn requirement per square significantly.
Frequently Asked Questions
Can I substitute the yarn for wool?
Yes, wool is an excellent substitute for this pattern. Keep in mind that animal fibers may shrink if machine washed, so hand washing is recommended.
Is this pattern suitable for complete beginners?
This pattern is ideal for beginners because it uses only basic stitches and demonstrates the essential concept of working into chain spaces.
How do I join multiple squares together?
You can join squares using a whip stitch along the back loops or by using a flat slip stitch seam depending on your preferred aesthetic.
May I sell items made from this pattern?
You are welcome to sell finished items made from this pattern, provided you credit the design and use your own original photographs for your listings.
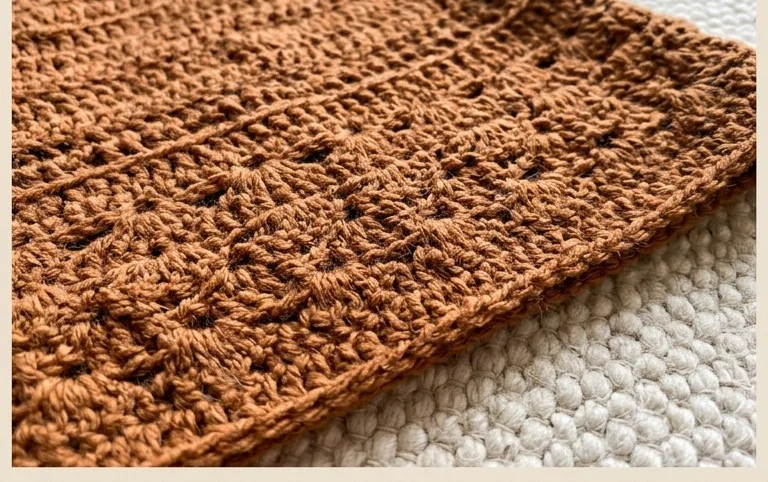
Your new cape brings a soft, handmade touch to any wardrobe and works beautifully when customized with muted earthy tones or a bold, contrasting border. You might try alternating solid squares with a speckled variegated yarn to add a different visual depth to the finished structure. Please consider uploading a photo of your finished creation to social media to show how your color choices turned out. Browse the rest of the blog for more patterns that keep your hands busy and your shelves stocked with handmade items.