Crochet Bunny Beanie for Kids: Free Easy Pattern
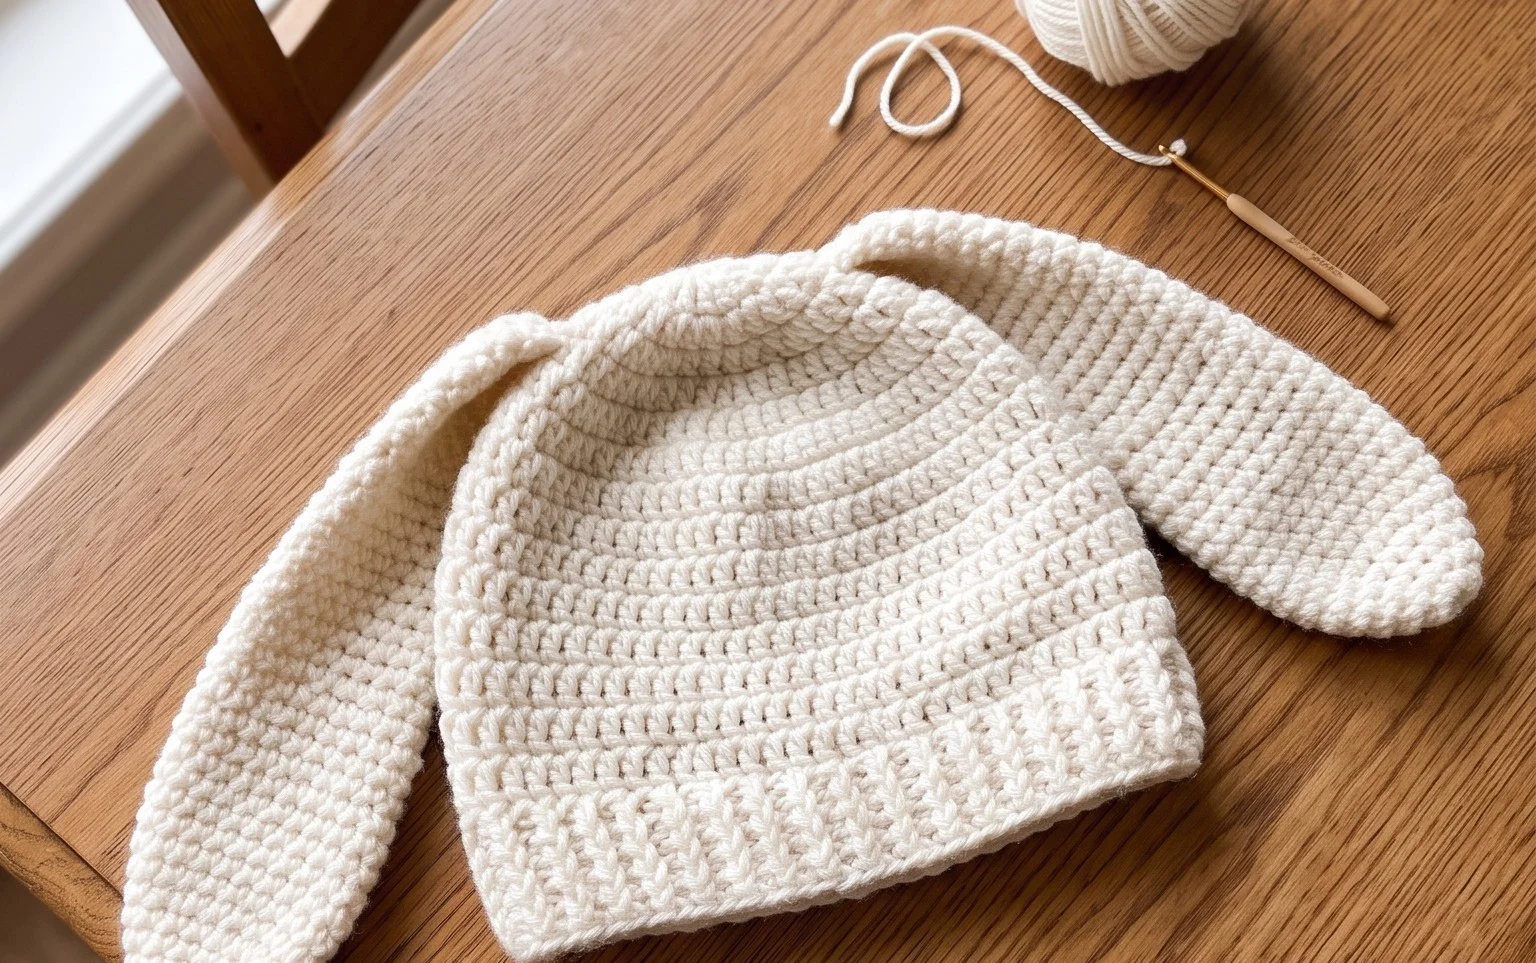
Soft cotton yarn works into a dense, cozy fabric that makes this hat warm enough for chilly mornings yet light enough for spring play. You will create a snug-fitting base with playful ears that stand upright thanks to a simple stiffening technique. This project suits makers who enjoy quick items that yield immediate results. Beginners will find the process straightforward because it relies on standard stitches and basic shaping. You will learn to manage round counts and attach secure, clean-looking ears to the crown. It is a satisfying way to use up partial skeins while creating a durable accessory that handles frequent washing well.
Why You’ll Love This Pattern
The Classic Crochet Bucket Hat relies on a simple, rhythmic construction that makes it an ideal project for an afternoon of crafting. Because it is worked in a continuous spiral, you avoid unsightly seams along the side of the hat. The stitch density creates a sturdy, structured brim that holds its shape well when worn, while the crown provides a comfortable fit for most adult head sizes. You can easily adjust the depth of the hat by adding or removing rounds before the brim section, making this design highly adaptable for different head circumferences.
I finished this hat in one sitting using a single skein of cotton yarn and it fits perfectly without being too loose or tight. The instructions for the brim expansion were very clear and easy to follow.
— Sarah, hobbyist crocheter
Pattern Overview & Skill Level
- Skill Level: Beginner
- Approximate Time: 3 to 4 hours
- Construction: Worked in a continuous spiral from the center of the crown outward to the base of the crown, then straight down for the sides, and finishing with an increase-based brim.
- Finished Dimensions: Fits an average adult head (21 to 23 inches circumference). Depth is 8 inches from crown to brim.
Materials & Supplies Needed
- Yarn: Worsted weight (#4) 100% cotton yarn, approximately 200 yards. Cotton is preferred over acrylic as it holds the structure of the hat better.
- Hook Size: 5.0 mm (H-8) crochet hook.
- Notions: Stitch marker to track the start of each round, tapestry needle for weaving ends, and scissors.
- Yarn Substitutions: You may use a wool-acrylic blend, though the hat will be warmer and slightly less structured. Avoid loose, stretchy novelty yarns which can make the hat lose its shape over time.
Stitch Guide & Abbreviations (US Terms)
- MR: Magic Ring
- ch: Chain
- sc: Single crochet
- inc: Increase (work 2 sc in the same stitch)
- dec: Decrease (sc2tog, inserting hook into the front loops of the next two stitches)
- sl st: Slip stitch
- st(s): Stitch(es)
Step-by-Step Pattern Instructions
Crown and Sides
- Rnd 1: 6 sc in MR (6 sts).
- Rnd 2: 2 sc in each st around (12 sts).
- Rnd 3: (1 sc, inc) repeat 6 times (18 sts).
- Rnd 4: (2 sc, inc) repeat 6 times (24 sts).
- Rnd 5: (3 sc, inc) repeat 6 times (30 sts).
- Rnd 6: (4 sc, inc) repeat 6 times (36 sts).
- Rnd 7: (5 sc, inc) repeat 6 times (42 sts).
- Rnd 8: (6 sc, inc) repeat 6 times (48 sts).
- Rnd 9: (7 sc, inc) repeat 6 times (54 sts).
- Rnd 10: (8 sc, inc) repeat 6 times (60 sts).
- Rnd 11: (9 sc, inc) repeat 6 times (66 sts).
- Rnds 12-25: sc in each st around (66 sts).
The Brim
- Rnd 26: (10 sc, inc) repeat 6 times (72 sts).
- Rnd 27: sc in each st around (72 sts).
- Rnd 28: (11 sc, inc) repeat 6 times (78 sts).
- Rnd 29: sc in each st around (78 sts).
- Rnd 30: (12 sc, inc) repeat 6 times (84 sts).
- Rnd 31: sc in each st around (84 sts).
- Rnd 32: sl st in each st around. Fasten off and weave in all ends securely.
Care & Washing Instructions
- Hand wash in cool water using a mild detergent to prevent the cotton fibers from stretching.
- Lay the hat flat on a clean towel to air dry, ensuring the brim is shaped correctly while damp.
- Do not tumble dry or wring the hat, as this will distort the shape and density of the crochet fabric.
Pro Tips & Common Mistakes to Avoid
Consistent tension is the most important factor in this project; if your stitches are too loose, the hat will sag. Use a stitch marker at the beginning of every round to avoid losing your place, as spiral rounds can be difficult to track visually. When weaving in your ends, run the yarn through the back loops of several stitches in both directions to ensure it remains hidden and secure. If you wish to make the hat larger, add one additional increase round to the crown and increase the stitch count for the subsequent rounds accordingly, noting that this will require approximately 20 to 30 extra yards of yarn.
Frequently Asked Questions
Can I use a larger hook to make the hat faster?
Using a larger hook will make the stitches looser and the hat significantly larger. It is recommended to stick to the suggested 5.0 mm hook for the best structure.
Is this pattern suitable for complete beginners?
Yes, this pattern uses only single crochet stitches and basic increases, making it an excellent first project for learning how to work in continuous rounds.
Can I sell the hats I make from this pattern?
You are welcome to sell finished items made from this pattern, provided you credit the designer and use your own photographs of your work.
How do I adjust the depth of the hat?
To make the hat deeper or shallower, simply add or remove plain single crochet rounds between Rnd 11 and Rnd 26.
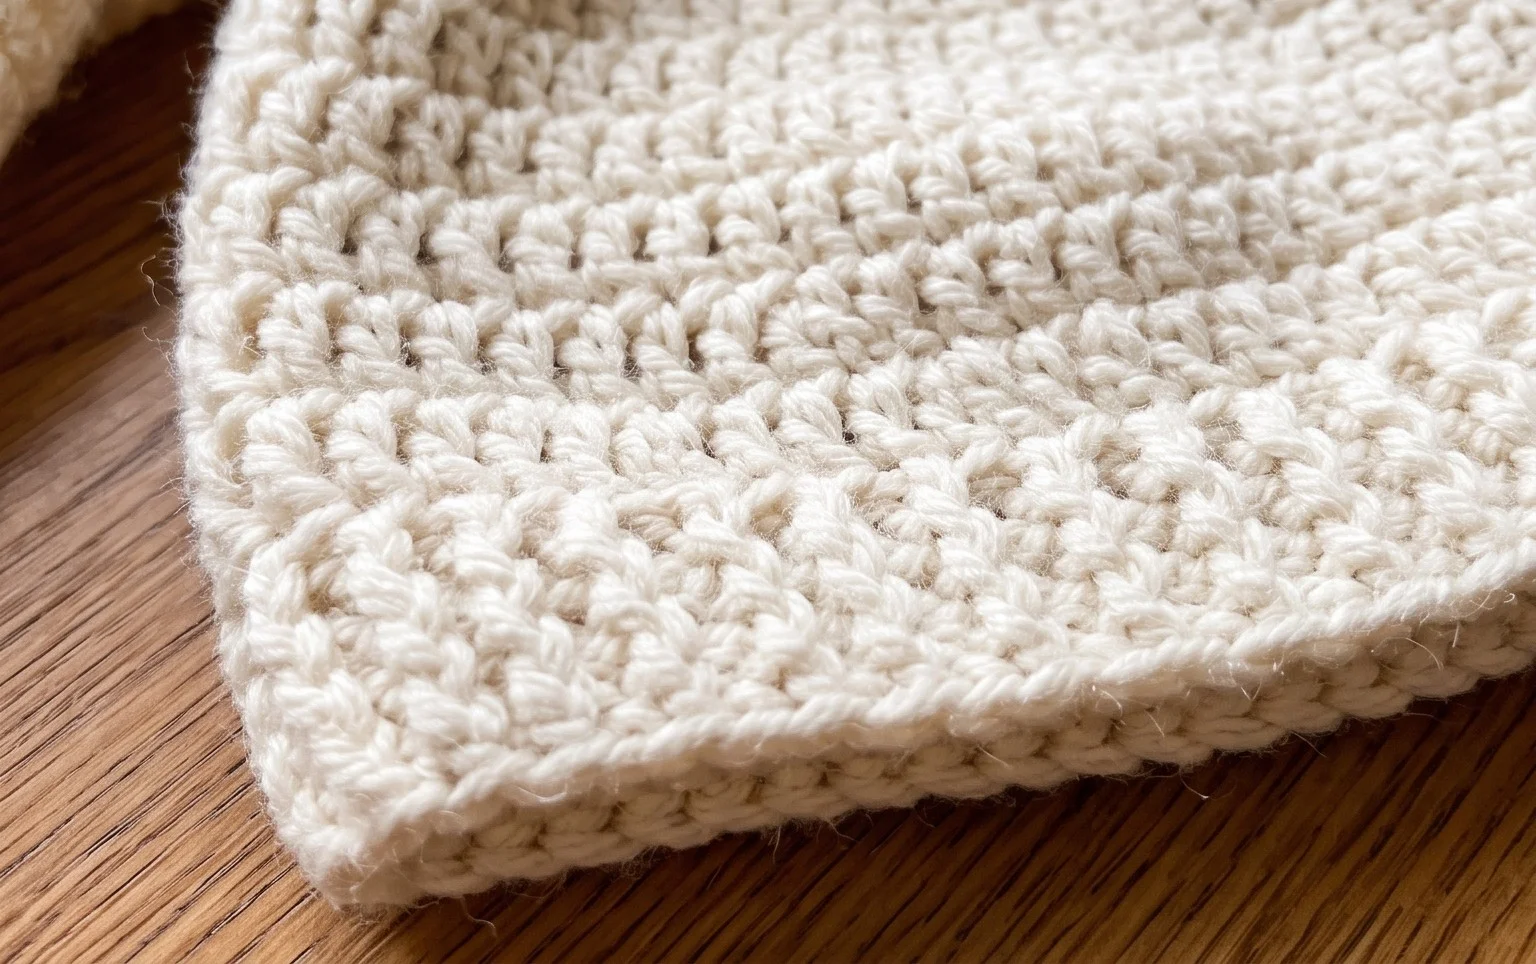
Seeing the finished bunny hat with its perky ears brings a sense of accomplishment that simple accessories provide. You can personalize this design by swapping the solid yarn for a variegated wool blend or adding a colorful pompom to the back for a different look. Tag your completed work on social media so others can see your color choices. Explore the rest of the blog for more free patterns suitable for your next afternoon project. There is always a new design waiting for your hook when you have a bit of quiet time to spare.