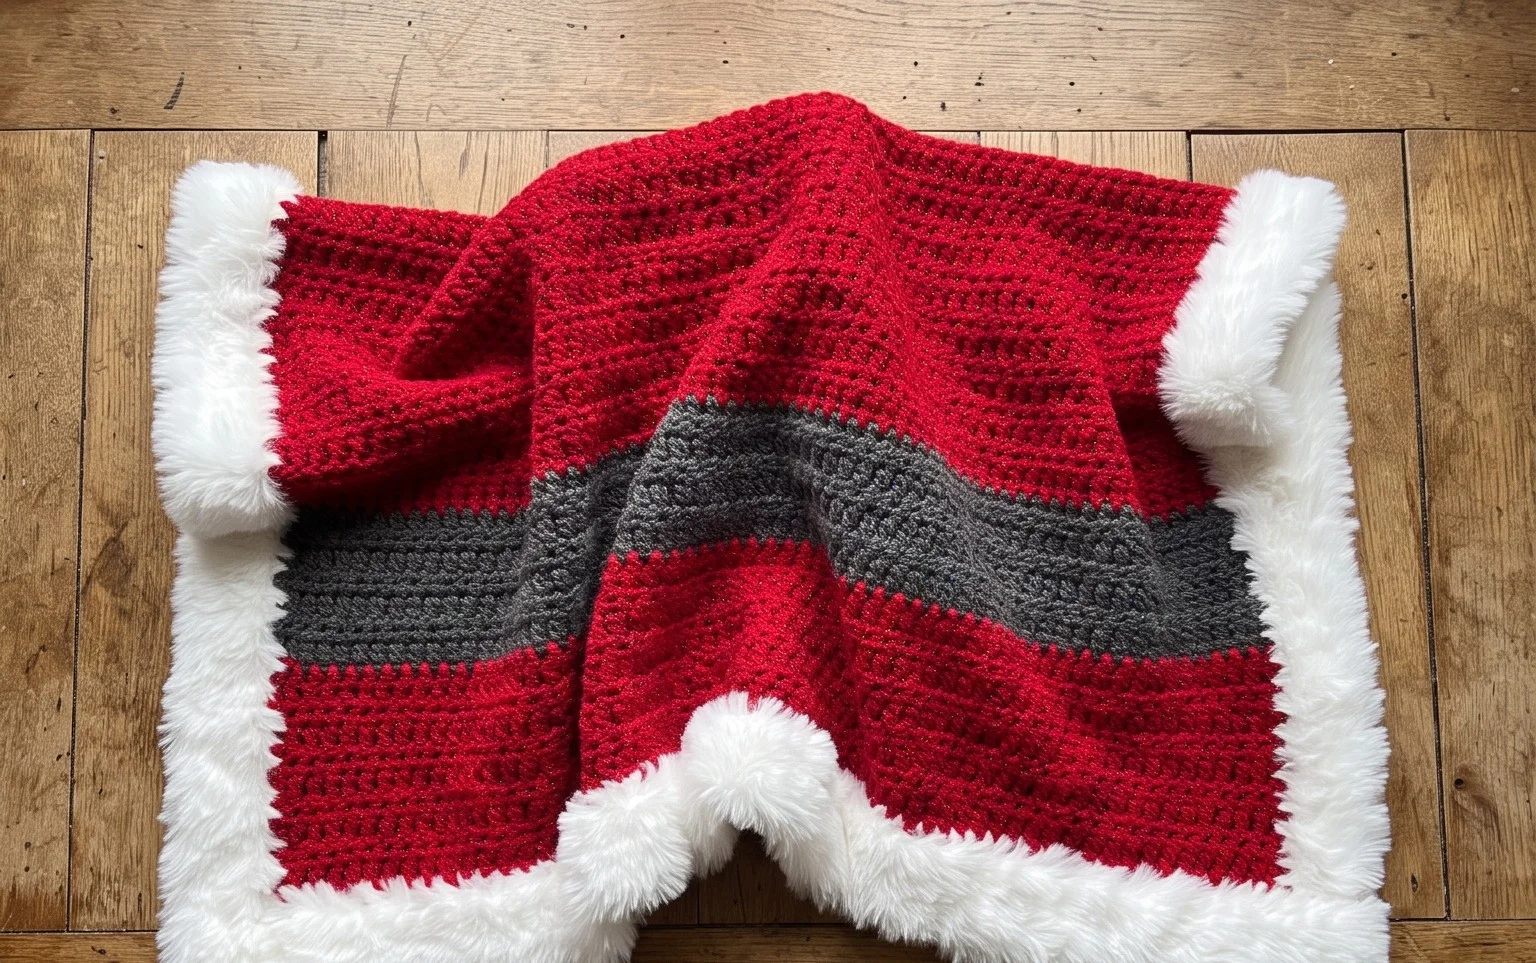
15+ Free Square Baby Blanket Patterns for Beginners
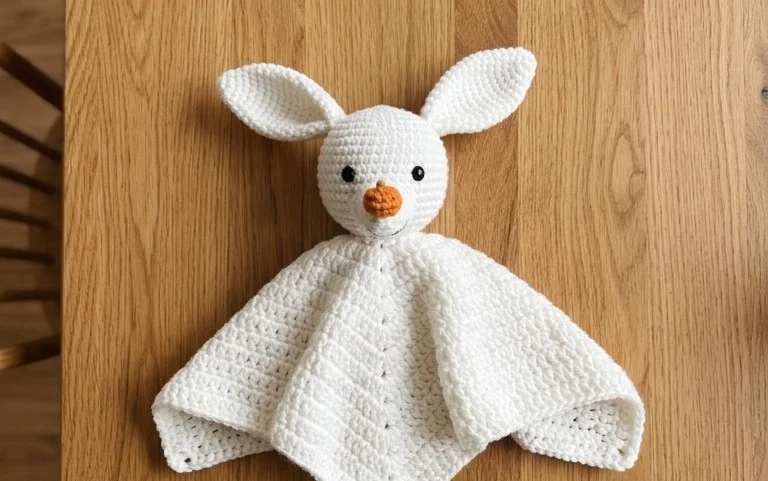
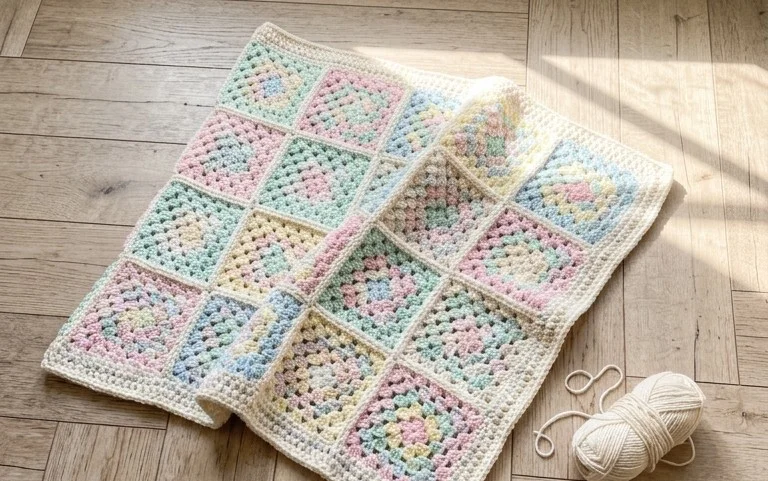
Soft cotton yarn forms the foundation of a cozy square baby blanket, providing a dense yet breathable texture that newborns love during nap time. These handmade squares serve as a comforting layer in a stroller or a nursery chair, offering a rhythmic, repetitive motion that makes the process feel almost like meditation. Whether you are a beginner learning the basics of double crochet or an experienced maker needing a quick gift, these square projects allow you to customize sizes simply by adding more rounds. You will learn to manage tension effectively and maintain straight, clean edges as you work through these versatile designs.
Why You’ll Love This Pattern
This beginner-friendly amigurumi mushroom is the ideal project for using up small amounts of leftover cotton yarn. The construction relies on simple increasing and decreasing, making it a meditative project that works up in under two hours. Because the stem and cap are worked separately and joined at the end, it allows for easy color customization if you want to create a whole forest of different shades. This project is small enough to fit in a coat pocket, providing a portable creative outlet for your commute or coffee break.
I managed to finish three of these mushrooms in a single afternoon. The instructions are very clear, especially the part about how to join the two pieces so they look seamless.
— Sarah, amigurumi hobbyist
Pattern Overview & Skill Level
- Skill Level: Beginner
- Approximate Time: 1 to 2 hours
- Construction: Two separate pieces worked in continuous rounds, stuffed, and whip-stitched together.
- Finished Dimensions: Approximately 3 inches tall and 2.5 inches wide at the cap.
Materials & Supplies Needed
- Yarn: Worsted weight (#4) cotton yarn. You will need approximately 20 yards of white for the stem and 20 yards of red for the cap.
- Hook Size: 3.5 mm (E-4) crochet hook. Using a hook slightly smaller than the yarn label recommendation ensures tight stitches so your stuffing does not show through.
- Notions: Polyester fiberfill stuffing, tapestry needle, stitch markers, and scissors.
- Yarn Substitutions: You can use acrylic yarn, but the finished size may be slightly larger. Ensure the fiber is not too stretchy to maintain the intended structure of the mushroom.
Stitch Guide & Abbreviations (US Terms)
- MR: Magic Ring. Used to start rounds to ensure a closed center.
- ch: Chain.
- sc: Single crochet. Insert hook, yarn over, pull up a loop, yarn over, pull through both loops on hook.
- inc: Increase. Work 2 sc in the same stitch to add a stitch.
- dec: Decrease. Single crochet 2 together. Insert hook into front loop of next two stitches, yarn over, pull up a loop, yarn over, pull through both loops on hook.
- sl st: Slip stitch.
- BLO: Back loop only. Working into the loop furthest from you to create a small ridge.
Step-by-Step Pattern Instructions
Stem
- Rnd 1: Start with a MR, work 6 sc into ring. (6 sts)
- Rnd 2: Work 2 sc in each st around. (12 sts)
- Rnd 3: Working in BLO, sc in each st around. (12 sts)
- Rnd 4-7: Sc in each st around. (12 sts)
- Rnd 8: Sc in the next 10 sts, dec. (11 sts)
- Rnd 9: Sc in each st around. (11 sts)
- Fasten off, leaving a long tail for sewing. Stuff the stem firmly.
Mushroom Cap
- Rnd 1: Start with a MR, work 6 sc into ring. (6 sts)
- Rnd 2: Work 2 sc in each st around. (12 sts)
- Rnd 3: Sc, inc repeat 6 times. (18 sts)
- Rnd 4: Sc 2, inc repeat 6 times. (24 sts)
- Rnd 5: Sc 3, inc repeat 6 times. (30 sts)
- Rnd 6-8: Sc in each st around. (30 sts)
- Rnd 9: Sc 3, dec repeat 6 times. (24 sts)
- Rnd 10: Sc 2, dec repeat 6 times. (18 sts)
- Stuff the cap firmly before closing.
- Rnd 11: Sc, dec repeat 6 times. (12 sts)
- Rnd 12: Dec 6 times. (6 sts)
- Fasten off and weave in the end.
Assembly
Place the flat top of the stem against the center of the underside of the cap. Using the long tail left on the stem, sew the stem to the cap using a whip stitch. Ensure the stitches pass through both the base of the cap and the top round of the stem. Knot the yarn securely inside the mushroom body and hide the end.
Care & Washing Instructions
- Hand wash in cool water with a gentle detergent to prevent the stuffing from clumping.
- Do not wring or twist the mushroom; gently press out excess water using a clean towel.
- Reshape while damp and lay flat on a drying rack away from direct sunlight.
Pro Tips & Common Mistakes to Avoid
Maintain consistent tension throughout the rounds to prevent gaps where the stuffing might show. Use a stitch marker at the beginning of every round to keep track of your count, as it is easy to lose your place in continuous spiral rounds. When weaving in your ends, run the needle through the center of the stuffing rather than across the surface to keep the exterior clean and professional. If you decide to make a larger mushroom, increase the starting number of stitches in your magic ring to 8 and adjust your increase rounds accordingly; note that this will require significantly more yarn.
Frequently Asked Questions
Can I use a larger hook for this pattern?
Using a larger hook will result in a larger mushroom and potentially visible gaps between stitches. It is best to use a hook size smaller than your yarn label suggests for amigurumi.
Is this project suitable for complete beginners?
Yes, this project only requires basic single crochet, increases, and decreases. It is a great way to practice working in the round.
Can I sell the items I make from this pattern?
Please check the original designer’s specific terms regarding commercial use. Most designers allow the sale of finished items if credit is provided.
How do I adjust the size of the mushroom?
You can adjust the size by adding or removing increase rounds in the cap or by adding more or fewer rows to the stem height.
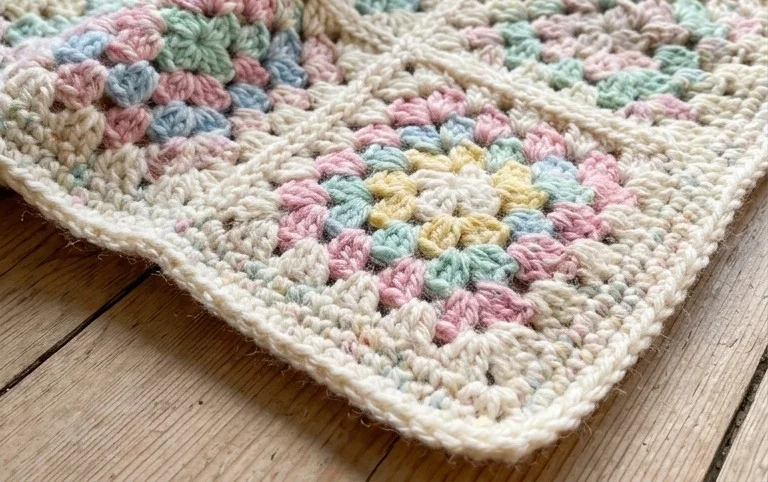
A finished square baby blanket carries a personal touch that store-bought items simply cannot replicate. You can experiment with variegated yarn for a modern look or add a wide, contrasting border to change the entire aesthetic of your piece. Seeing your work come to life in a nursery is a rewarding experience, so please share a photo of your creation with us on social media. If you enjoyed this project, our site has many other collections of free patterns to keep your hook busy all year long.