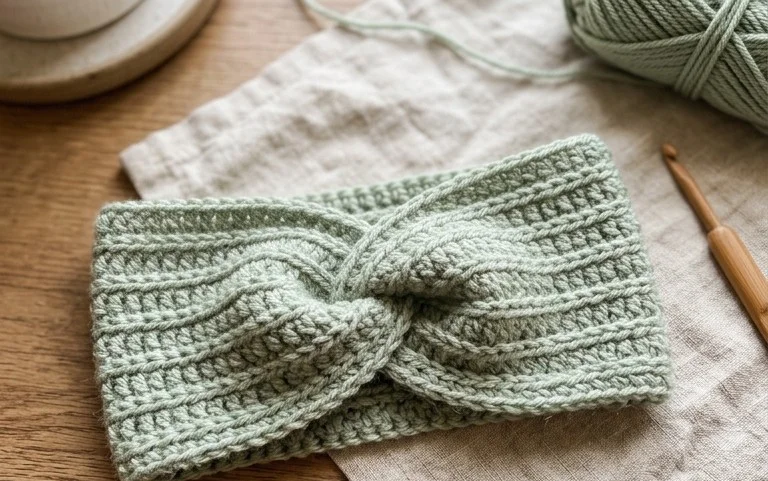
Easy Twisted Crochet Headband: Free Beginner Pattern
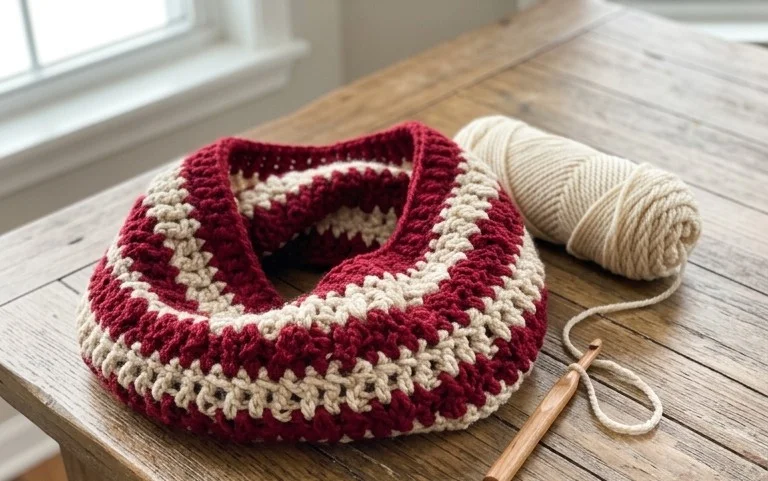
This headband features a cozy, dense fabric that hugs the ears on chilly mornings, making it a reliable accessory for brisk walks or running weekend errands. The signature twist at the center creates a polished look that hides your ends while providing a sophisticated shape without needing advanced shaping skills. Beginners will appreciate how the simple back-loop half-double crochet stitches build up height quickly, turning a single skein of yarn into a finished accessory within a couple of hours. You will learn the folding technique that transforms a flat rectangle into a stylish headpiece, ensuring a snug fit for any head size.
Why You’ll Love This Pattern
The Classic Crochet Granny Square is the foundational building block for countless blankets, bags, and garments. This project is ideal for beginners because it introduces the concept of working into chain spaces rather than individual stitches, which makes the rhythm of the work easy to memorize. You can complete a single square in less than thirty minutes, making this an excellent project for using up leftover yarn scraps from previous tasks. Because the design is modular, you can choose to make a single coaster or continue adding rounds until you have a full-sized afghan. The consistent 3-double-crochet cluster pattern creates a balanced texture that is both durable and soft.
I started this project to use up my stash of leftover cotton yarn and found the process incredibly soothing. The squares are uniform and look professional even though I am still a self-taught beginner.
— Sarah, hobbyist crafter
Pattern Overview & Skill Level
- Skill Level: Beginner
- Approximate Time: 20-30 minutes per square
- Construction: Worked in joined rounds, starting from the center and expanding outward.
- Finished Dimensions: Approximately 5 inches by 5 inches using medium weight yarn and a 5.0 mm hook.
Materials & Supplies Needed
- Yarn: Worsted weight (#4), 100% cotton or acrylic blend, approximately 15 yards per square.
- Hook Size: 5.0 mm / H-8.
- Notions: Tapestry needle for weaving in ends, scissors, and optional stitch markers.
- Safe Yarn Substitutions: You may use DK weight (#3) yarn with a 4.0 mm hook for a smaller, more delicate square. Using bulky weight (#5) yarn will result in a larger, thicker square, but will require more yardage and a 6.0 mm hook to maintain drape.
Stitch Guide & Abbreviations (US Terms)
- ch = chain
- st/sts = stitch/stitches
- sl st = slip stitch
- dc = double crochet
- sp = space
- Cluster = 3 double crochet stitches worked into the same space.
Step-by-Step Pattern Instructions
Granny Square Body
Round 1: Start with a magic ring or ch 4 and sl st to the first ch to form a ring. Ch 3 (counts as first dc), work 2 dc into the ring. Ch 2, *3 dc into ring, ch 2; repeat from * twice more. Join with a sl st to the top of the beginning ch-3. (12 dc, 4 ch-2 spaces)
Round 2: Sl st into the next 2 sts and into the first ch-2 corner space. Ch 3, 2 dc in same space, ch 2, 3 dc in same corner space. *Ch 1, skip 3 sts, (3 dc, ch 2, 3 dc) in the next ch-2 corner space; repeat from * twice more. Ch 1, join with a sl st to the top of the beginning ch-3. (24 dc, 4 corner ch-2 spaces, 4 side ch-1 spaces)
Round 3: Sl st into the next 2 sts and into the first corner space. Ch 3, 2 dc in same space, ch 2, 3 dc in same space. *Ch 1, 3 dc in the next ch-1 side space, ch 1, (3 dc, ch 2, 3 dc) in the next corner space; repeat from * twice more. Ch 1, 3 dc in the final side space, ch 1, join with a sl st to the top of the beginning ch-3. (36 dc, 4 corner ch-2 spaces, 8 side ch-1 spaces)
Round 4: Continue as established by placing (3 dc, ch 2, 3 dc) in every corner and 3 dc in every side space separated by ch 1. Join with a sl st to the top of the beginning ch-3. Fasten off and weave in all ends securely with a tapestry needle. (48 dc, 4 corner ch-2 spaces, 12 side ch-1 spaces)
Care & Washing Instructions
- Hand wash your finished items in cool water with a mild detergent to preserve the structure of the cotton fibers.
- Lay the square flat on a clean towel and reshape it to its original dimensions before allowing it to air dry away from direct sunlight.
- Avoid wringing or twisting the fabric while wet, as this can distort the crochet stitches and cause the square to lose its square shape.
Pro Tips & Common Mistakes to Avoid
- Maintain consistent tension by holding your yarn with a steady, light grip; if your squares are curling, you may be working too tightly.
- Always place a stitch marker in the top of your starting ch-3 at the beginning of each round to easily identify where to join your slip stitch at the end of the round.
- Weave in your yarn ends by passing the needle under the stitches on the back side of the work in two different directions to ensure they do not pull out over time.
- If you choose to adjust the size of your square by adding more rounds, remember that each additional round will require significantly more yarn than the previous one, so monitor your supply accordingly.
Frequently Asked Questions
Can I use a different yarn weight for this pattern?
Yes, you can substitute different yarn weights. Keep in mind that changing the weight will alter the finished size and drape of the square, and you will need to adjust your hook size to ensure the fabric remains flexible and not too stiff.
Is this pattern suitable for complete beginners?
This pattern is highly recommended for beginners because it relies on basic stitches and follows a repetitive, predictable sequence that helps you build muscle memory for tension and stitch placement.
How do I join these squares together to make a larger blanket?
You can join the squares using a slip stitch join through the back loops only or by using a flat braid join, both of which provide a clean, professional finish to the seams of your blanket.
Can I sell items made from this pattern?
You are welcome to sell finished items made from this pattern, but please credit the original design and use your own photographs. Always check the specific copyright terms if you are sourcing patterns from different designers online.
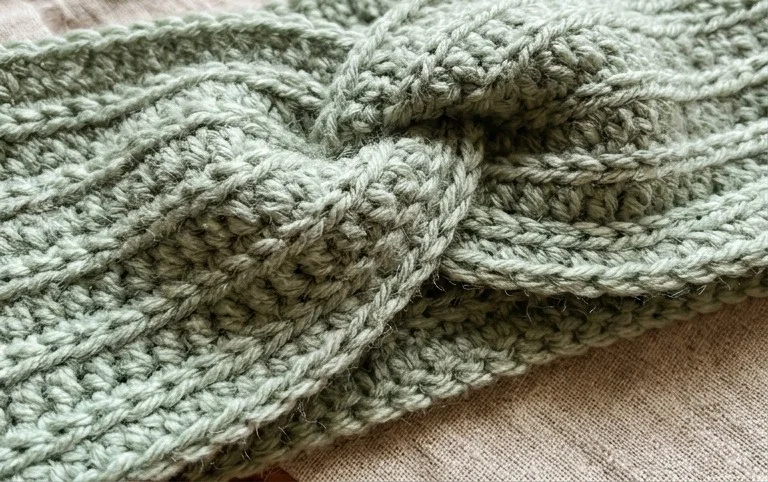
Your finished headband provides a snug, stylish barrier against the wind and adds a handmade touch to any outfit. Try working this pattern in a variegated wool yarn if you want a bolder look, or stick to a solid neutral for a classic accessory that matches everything in your winter wardrobe. Posting a photo of your project on your preferred social media platform helps other makers find this project. Browse our blog for additional free patterns to build your collection of quick, satisfying gifts for your friends and family.